Friday, April 20, 2012

Project 53: Window Privacy

Well, my apartment was robbed about a month ago.  I live on the ground floor of my building so you can look right into my windows.  I'm a big fan of fresh air and sunlight so I hate having the blinds & windows closed.

My project was to create privacy but allow sunlight.  My boyfriend and I found these frames at Michael's in the "as-is" bin for $1 each.  They had no glass, no backing.
Frames
Today, I bought a shower curtain and using a staple gun, I stapled each corner then around the edges, then cut the excess:
Stapled
*Make sure the frame is facing the right direction... I screwed this one up.

Unfortunately, because my camera's memory card was lost in the break-in, I took these pictures with my phone.
Window1
Window2

Tuesday, September 20, 2011

Day 52: Pop Up Pull Tab Card

I try to make a little gift or write a small note and hide it in Ryan's bag each time he goes back on tour.  This time when he comes home sometime in November we'll have only spent 2 weeks together in more than 4 1/2 months.  Ouch.
My goal was to make something to remind him of home. 
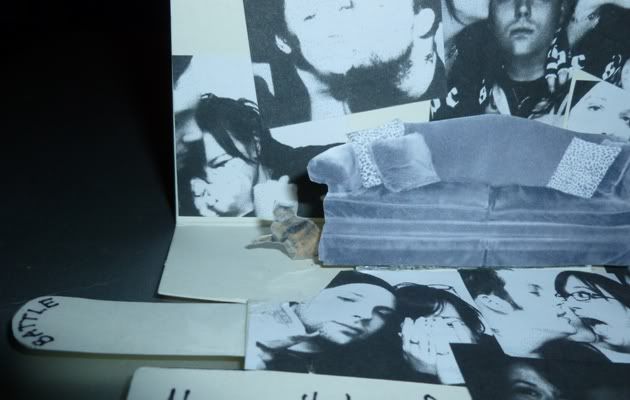
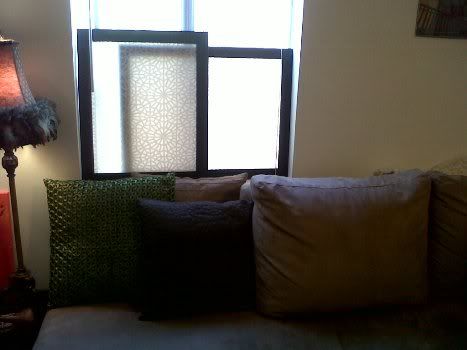
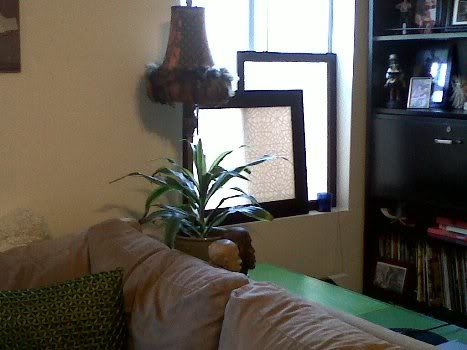
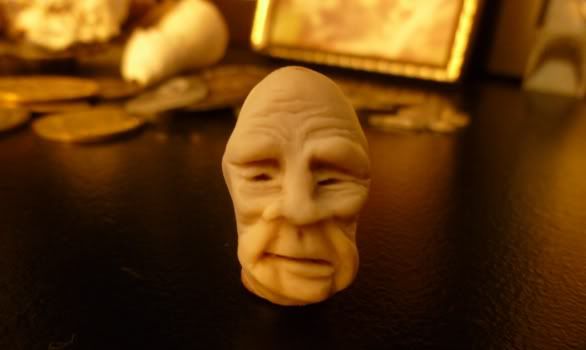
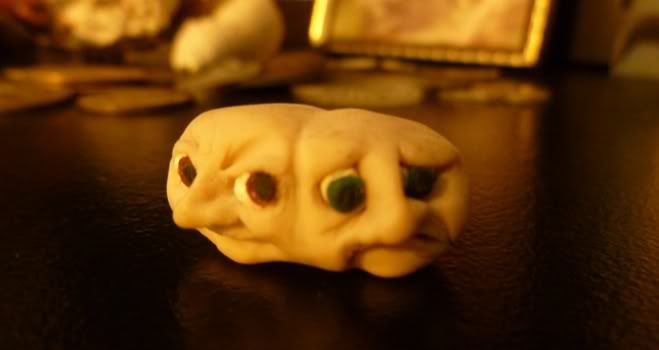
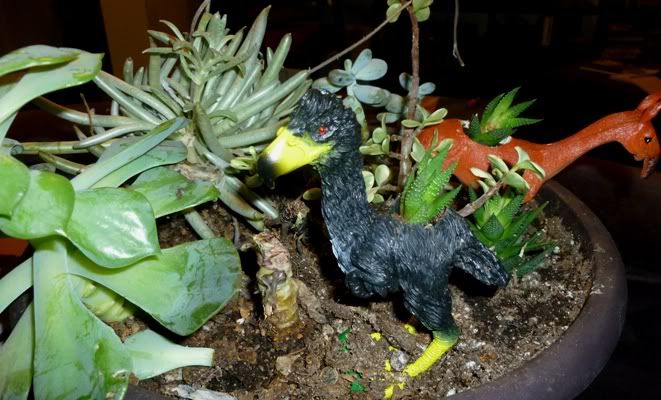
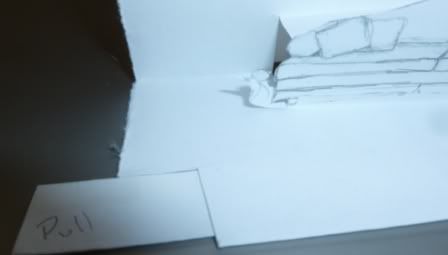
Cat Benatar and Ryan battle at the end of the couch everyday. 
Battle

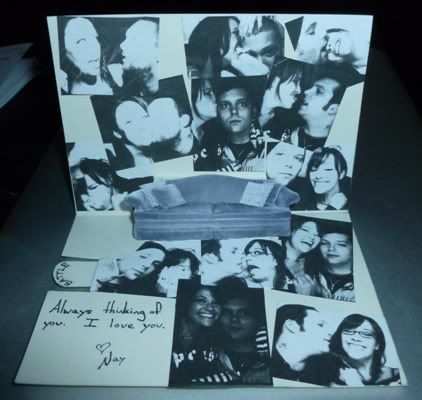
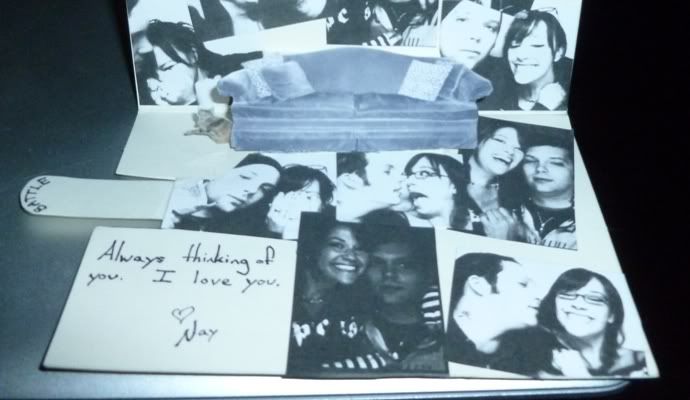
I decided to make up pop up card and have a pull tab to make the cat jump out from behind the couch. 
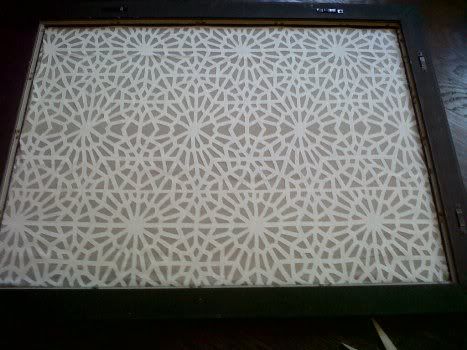
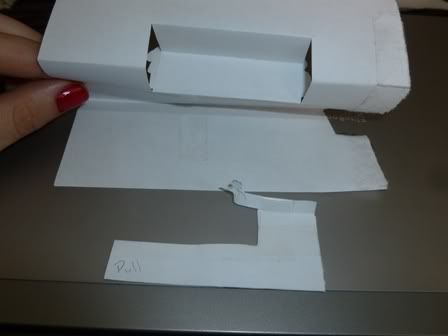
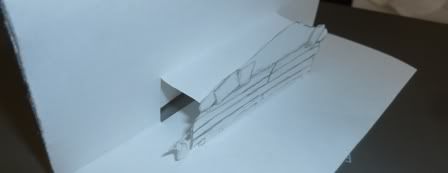
I made a prototype first.

1. You have two options on the base card design. The first is to use two equal sized pieces of paper and glue them together once the pop up and pull tab are all cut and placed. I did this for the final product. The other option is to fold the paper in the center then fold both ends back to meet the crease. I did this with the prototype. The benefit of the prototype's design was that I could put the pull tab at the very end of the card and the fold would hold it in. The pull moved much smoother this way. With the other option of gluing the separate paper together you get a nicer look along the edges and at the fold of the card but the gluing/taping needs to create a nice path for the pull tab to run. More below.


2. At the center fold cut to equal sized slits about 2-3 apart. Push the paper between the slits in so the center fold is going the opposite direction and is inside the folded piece of paper.

3. Cut out a little cat with extra paper coming off it's backside about an inch.

4. Cut out a square where the pull tab will be accessed

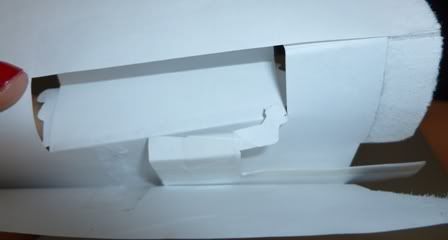
5. Cut out an L shaped piece of paper. One end should be about inch longer than the distance from the pop up opening to the location of the pull tab opening. Determine where to attach the cat to this end of the L so that it can slide easily from behind the popped out area. Attach this end around the extra paper at the end of the cat using tape or glue. The other end will be visible as the pull tab.

Steps1_2_3

6. Place the cat/pull into the opening into the pop-up opening

Step4

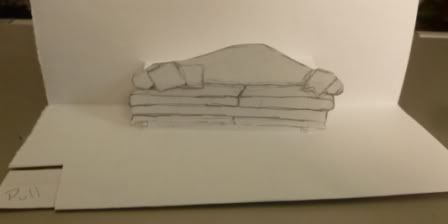
7. Draw/cut out couch.

8. Open card and attach couch to front the popped up rectangle. I used double sided tape.

CouchTop

9. Push the tab into the card till the cat is hidden behind the couch. Trim the paper so that the end of the tab lines up with the edge of the card,

10. Hold the tab to the card and flip it over. Mark where the tap slides to.

11. Tape or Glue along that line so that the tab does not fall all the way into the card when it is pushed in.

12. If you chose to use two seperate pieces of paper you will need to put tape along the 'unhinged' side of the L. The goal is to provide a path for the tab to slide

JustCatCouch

13. Double stick tape or glue around all the edges closing up the card.

14. If using glue test quickly before glue dries by pulling the tab to make sure the cat slides out smoothly and stops at the appropriate point.

Photobucket

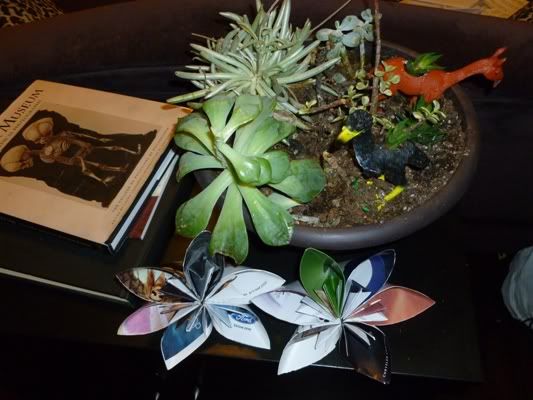
I copied some of our photobooth pics and glued them around the card.
CardDone1
CardDone2
CardDone3

Tuesday, August 30, 2011

Day 50: Fake Stained Glass

I found this idea online... HERE.
The idea is to cover a window with tissue paper using washable glue.
Extremely simple, temporary, and great result.
Supplies:  Tissue paper and washable glue
Supplies
Instructions:  Rip up a bunch of tissue paper, put glue on the window, put tissue on window. DONE
The light is hitting the left side of the window, that's why the colors appear different.
StainedTissue
Here's the result from the site I copied:
Theirs

Monday, August 29, 2011

Day 49: Sock Bun Curls - Yeah, It's A Girl Post

Hey Ladies, have you fried the shit out of your hair like I have? Do you want to wake up in the morning with a pretty flowing locks? Well let me introduce you to the sock bun. You've probably already seen a sock bun and in my personal opinion I think the bun itself is ugly and looks like a butthole on your head but eh... you could convince me it's a sexy ballerina thing, ala black swan, and I might buy it.
butthole_bun
Butthole bun, Bagel bun, whatever blech.


1. Take a sock, cut off the toe.
Cuttoe
2. Roll that shit up.
roll
3. You need to do this with ALMOST dry hair. Don't do this with wet hair you'll get a bad result AND you don't want bottom of the hamper hair (moldy, gross). I think it's silly to buy a spray bottle just for water so I run my hands under water, flick them and then run the remaining water through my hair... depending on how dry my hair feels I may do this 1-3 X's.
4. Tip your head over and pull your hair into a top-of-the-head pony tail (here some people use a rubber band to hold their hair in place but I got a bad kink so I skip that).
5. Take the sock "scrunchy" slide it on like a normal hair tie.
6. Separate your pony tail into two sections
7. Slide the sock to the end of your strands
hair
8. Wrap each of the strands around the sock one on each side. *My first try I was LAZY and didn't tuck the ends nicely and had great curls with kinks at the end.*
9. Once you have the ends nicely tucked roll it down to your scalp.
roll  bun
10. Put on cat eye glasses and a tight button up shirt and treat your man to the sexy librarian look, or drink a couple glasses of wine alone ... then go to sleep.
11. Wake up, unroll, meow
I read that chicks in the military do this.
It's VERY comfortable (the lump is soft and on the top of your head).
I'll edit this tomorrow AM with pics... when I have make up on, and then I'll crop out my face anyway.
*And here it is... it's really hard taking a picture of the back of your head.  I think I may have TRex arms.
Curls
Here's the video I watched to learn this trick: How to curl your hair with a sock! No heat

Wednesday, August 10, 2011

Day 48: How Tall

The project was to make something tall that can stand on it's own. I was having trouble thinking of anything that would be interesting for others to view and could be made from items I already own... not for lack of creativity but more because I thought the idea was boring and I didn't put much thought into it.
So instead here is a thread of my friends and I wasting an hour coming up with mocking DJ names for my brother:
Jim
Mike: DJ crawlspace.
Felix: DJ Desperation
Mike: DJ restraining order
Felix: Sir Stalks a lot
Ryan: DJimhumdawg
Felix: Gay-Z
Ranae: Mix Master Bate
Mike: HUM DMC
Felix: Alone Thugs and Harmony
Felix: Dr. Gay and Poop Dogg
Mike: NWGAY
Felix: nicecube
Mike: brotha sits home
Felix: pleasey-e
Ranae: KRS-None
Felix: Jam Master Gay
Felix: Mannibus
Felix: lifeless HIll
Felix: Feminem
Ranae: 2sad
Ranae: Nice Dude (ice cube)
Felix: Ja Fool
Felix: Jizz-a
Ranae: Talib Crying
Ranae: De La Sad
Mike: no hang clan
Felix: inane clown posse
Ranae: Public Frenemy - topical and hip
Mike: house of lame
Felix: gross-def
Felix: nifty cent
Felix: Cryclef jean
Felix: Neverlast
Felix: Hid Rock
Ranae: no-social-skills by nature
Ranae: Salt n Peder
Felix: borin' G
Ranae: Muff Saddy
Ranae: Fool & the Lame
*Check comments for additional names*

Tuesday, August 2, 2011

Day 47: Flower Power

Create something using flowers (real or fake). I'm trying to use things I have around the house, so I made animal plant holders and magazine flowers.
My cat eats ALL of my plants and killed off half of this bowl of plants so I added these toy animals.
I stole this idea from Plaid Pigeon, who's designs look amazing compared to my crap but that's acceptable.
I bought the toys from Rite Aid and used my Dremel to make a hole.  Luckily the toys were hollow which saved a lot of trouble.
Succusarous
I also decided I needed to make something with flowers since it was in the title of the project so I found this cool design (which again, I stole) and even found an instructional video.
Here's my version:
magflowers

Followers